Tuesday, January 14, 2014

Valentines Day Nails

Here are the steps to creating this design:
1.  Paint with a clear coat.
2.  Paint nails base color (in this case pink).

3.  I used Sally Hansen Nail design and cut in half for each of my nails, place on the top half.
4.  Cover remaining nails with glitter top coat.
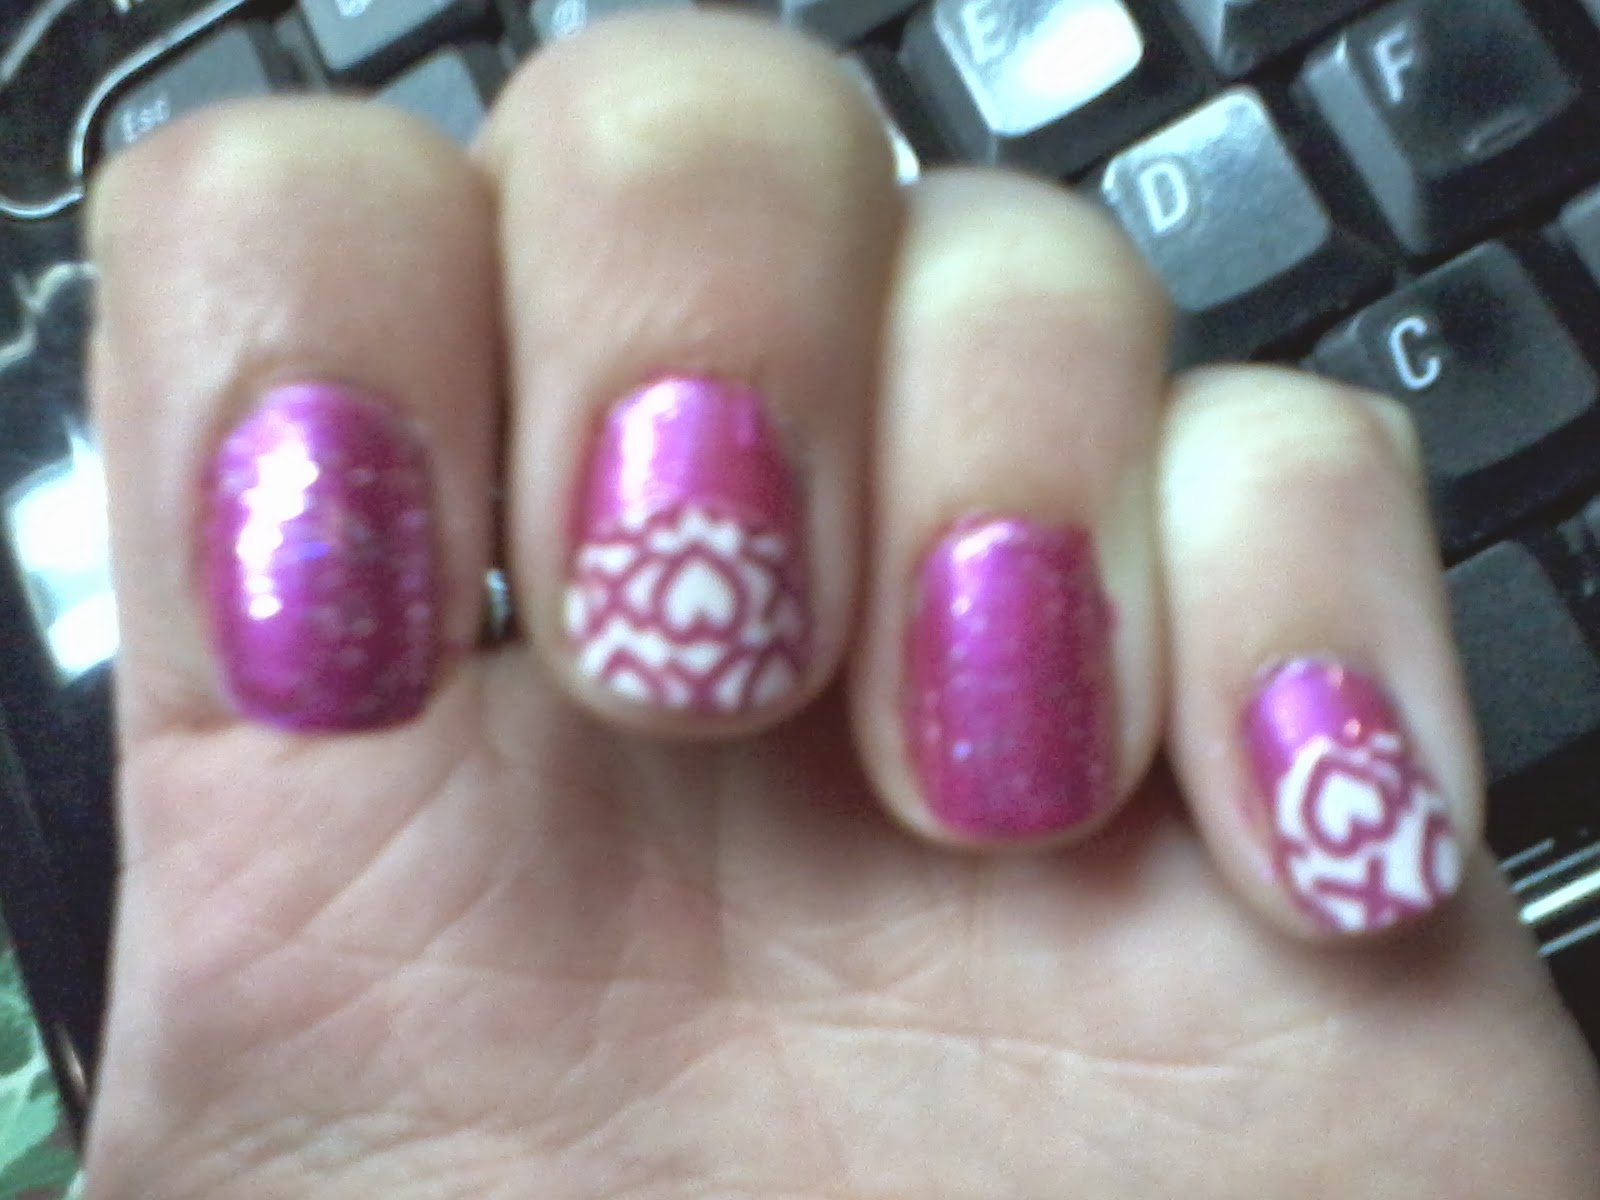
5.  Cover all nails with clear top coat.

Here are the steps for this design:

1.  Paint with a clear coat.
2.  Pain nails base color (in this case red)
3.  Using other Valentines colors paint hearts on the nail.
4.  Cover in glitter.
5. Cover nails with clear top coat.

Nail tips


All of these nail designs have the same general idea here are the steps to recreate these:

1.  Paint nails with a clear base coat.
2.  Paint nails with any color you wish.
3.  Decide where you want the next color to be and paint the top portion of the nail that color (or do the design.)
4.  Cover the line where you started the 2nd color, with a solid color line (such as silver or black).
5.  Paint with a top coat and enjoy!


Reindeer nails


This idea came to me one day as I was thinking of how I was going to do my nails for the Christmas season.  This was a little more difficult.  Here are the steps to do it yourself.

1.  Paint your nail a background color I chose white allow to dry.
2.  Using brown paint the general outline of a reindeer on your nails allow to dry.
3.  Using a thin brush and black paint antlers on the the reindeer head.
4.  Also using the black paint on a nose.
5.  Using a dotting tool create the eyes.
6.  If you want add a red nose to make it look like rudolph.
7. Cover with a clear coat.


Leopard Print Nails

Here is a link to the pin that inspired my nails 

Steps:
1.  Paint nails with a base coat.
2.  Paint with any other you want I chose this blue purple color.
3.  Take a dotting tool and dot multicolor dots on nails.
4.  Using a thin brush and black paint small curves around the dots to create the leopard print look.
5.  Cover with a clear coat.


Turkey Nails


Here are the steps to creating your own turkey nails!
1.  Paint your base coat I used this light yellow/tan color.
2.  Using a small brush and brown paint the outline of a turkey on a nail.
Once dry take a dotting tool and white to create eyes.
3.  Using fall colors paint feathers around the turkey using red, gold, orange,
I threw in purple just for fun.
Another picture of step 3.
4.  Finish the turkey by taking a dotting tool and finishing the
 eyes and adding a beak cover with a top coat

Fall Leaves Nails

I decided to try my hands at these fall leave designs that I saw on pinterest.

Steps:
1.  Paint nails with a base coat
2.  Paint nails white (the blending will show up better this way).
3.  Paint nails a metallic orange color allow to  to dry until tacky.
4. Take a sponge and paint on it a gold color gently sponge over top of the orange to blend it together.
5. Allow to dry.
6.  Take a small skinny brush and paint a tree on each finger.
7. Paint on a clear top coat.


1.  Paint on a base coat..
2.  Paint tips of nails brown to look like the ground.
3.  Take a small brush and using red, orange, and gold, paint leaves on nails.
4.  When leaves are dry using a clear glitter coat paint over top of nails.
5. Cover with a clear coat.

Owl Nails

The school that I was student teaching at mascot was an owl to celebrate the first spirit day I tried my hand at painting little owls on my nails.

Steps:

1.  Paint a base coat on your nails.
2.  Paint your nails with your base color I used a gold color allow to dry.
3.  On two of the nails I made the outline of an owl using brown allow to dry.
4.  Using a dotting tool and a small brush make the belly of the owl and the eyes with white allow to dry.
5.  Using a smaller dotting tool make the inside of the eyes using black.
6.  Using a small brush make a triangle for the beak.
7.  Leave other nails as is or use a dotting tool to create polka dots I used purple for my other nails.
8.  Once nails are dry cover with a top coat.