Sunday, November 24, 2013

Fish tail nails

Pinterest inspires a lot of my nail ideas.  I saw this fishtail design on there one day and decided to try it.  
Click here to see the pin/tutorial for the fishtail design.

Here are two designs that I tried myself.  The fishtail is very simple you just keep layering the three colors overtop of each other.  I really like just doing one nail as a statement and leaving the rest a plain color.


Tuesday, November 19, 2013

Bat Sock Craft

This cute little bat was made during my summer at the zoo.  It was a craft that my partner and I had come up for our theme of creatures of the night.


Here are the Materials needed for this project:
Long Black Socks (use ½ for each project)
White or black foam for wings
Batting for pillows, etc.
Googly eyes

Here are the steps to make this craft:
1.  For the part of the sock that has an opening at each end hot glue one side together.  This side will be the ears.
2.  Stuff the socks with batting that is used for pillows. Until desired fill.
3.  Close up the sock with a hot glue gun.
4.  Glue on googly eyes and wings.

DIY coffee mug

I love the DIY mugs that I see on pinterest on all the time.  Here is the tutorial if you don't know how.


But I saw this UP inspired mug that I decided I wanted to try out as a gift for a friend.  Here is the pictures that inspired my UP Mug.

I followed the directions for the DIY sharpie mugs.  I used stencils to trace all the letters on one side of the mug.


Then on the other side I used lots of bright colors to show the balloons and drew a little house.  This was easy and was definitely a simple afternoon project.  The hardest part was trying not to smudge the colors!


Monday, November 18, 2013

Obre Nails

This is probably my favorite types of nail design to do!  I love the colors that occur when they blend together.

First you paint your nails a base color something neutral I normally do white or some sort of cream color to make the colors show up better.  Allow to dry completely!

Next take your make-up sponge and paint the colors you want on the bottom (so you can hold the triangle part between your finger tips for better gripping.
Then holding the sponge gently dab the sponge back and forth on you nails until you get the desired darkness you want on you nails.  
Repeat on all the nails. 
When all the nails are covered and dried completely cover with a top coat and clean up nail edges with a q-tip and nail polish remover.
Here are some other colors that I have tried out.


Fan brush nails

 Here is the pin that inspired my nails.
http://www.pinterest.com/pin/131941464054871715/

The first thing you do is pick out a color for your base and paint it that color.  I chose this lovely lavender color.  Allow to dry completely before moving on.

Second take your next color and put a little bit on a fan make-up brush.  Gently brush the first color onto the top of your first color.  Allow to dry before moving onto the next color.

Third repeat step two with a different color and gently layer on top of the second color.  Allow to dry before moving on.

Fourth take your last color and repeat steps two with this color.  Layer on top of the other colors.  Allow to dry completely then cover with a top coat.


Here are some other colors that I tried with this design.


Clean up edges of nails with a q-tip and some nail polish remover.


Monday, November 11, 2013

Paper Covered Pencil Holders


I found these in a box the other day and decided that I wanted to do something different with them.  They were originally all black.  Who doesn't like a little color in their life?  This fun print was the perfect solution to cover up the old pen holders.  

Here are the steps to recreate this project.
1.  First I measured between the two silver edges where I wanted my paper to cover the old black.
2.  Cut the paper so it fits this width.
3.  I wrapped the paper around the container to determine how long the paper will be.  I didn't really have to cut much off the paper was the perfect length to start with.
4.  Place a little bit of Mod Podge on the container and line up the paper with that spot.  Allow to dry for a few minutes.
5.  Work slowly by placing a little bit of glue on at a time that way if you mess up you can peel it back and start again.
6.  When paper is all glued down on the container allow to dry over night.
7.  The next day cover the entire container in Mod Podge allow to dry again.
8.  Cover with another coat of Mod Podge.
9.  Enjoy your new pen/pencil holder :)

Friday, October 18, 2013

Claypot Alligator


This past summer I worked at the Blank Park Zoo as a Camp Counselor.  Every day we had to do a craft with the kids.  Here is one of the crafts that we did with them.  It was a lot of fun. But some assembly required ahead of time.

Materials Need:
Small clay pots (2 for each project)
Green paint
Yellow paint
Green foam
White foam
Googly eyes
Small Styrofoam balls
Hot Glue Gun
Small piece of rectangular cardboard

The first time we did this project we didn't hot glue anything together.  I would recommend hot gluing the clay pots together, the eyes on top and the small piece of cardboard to the bottom to keep it from rolling away.  We also used regular craft paint I would recommend using acrylic paint it would stick better. The paint is slowly chipping off of my example.

1.  Glue the claypots together with a piece of cardboard on the bottom to keep it from rolling around.
2.  Paint the entire thing with green acrylic paint.
3.  Cut out two triangles for the tail.  Glue at one end of the clay pots curve them around so that it forms a tail shape.
4.  Paint the styrofoam eyeballs if you want.  When dry glue onto the clay pots.
5.  Glue on googly eyes onto the styrofoam balls.
6.  Glue on foam teeth cut out of white foam.

Tissue Paper Art

This was a project that I did in my Arts Integration class at UNI.  It turned out a lot better than I had expected and was super excited about it.

Here are the steps to do this project.  It's very easy and would be able to do it with younger kids at home.
1.  Take a variety of colors of tissue paper.
2.  Paint the tissue paper with different colors of paint, overlap the colors and mix them together.
3.  Allow tissue paper to dry overnight.
4.  Take dried tissue paper and cut out variety of shapes for whatever you want to make.
5.  Glue shapes onto a white piece of paper into whatever shape you want.
6.  Allow to dry and hang up on the fridge or wall.

Tile Coasters


I love these tile coasters that I have seen on Pinterest. I decided to try some myself.  Unfortunately I became a little too impatient when making these and causes some of them to bubble or the corners have not stuck. I bought the ceramic tiles at Lowes but you can also find them at Home Depot.  You definitely need to let the Mod Podge dry before you cover the top part of the paper. I would also recommend cutting the paper slightly smaller than the tile so it doesn't go over the side. Use any scrapbooking paper you wish to make it personal.  I used black construction paper to make the letters for the IOWA coaster.

Here is the tutorial to making these.

College Subway Art

I am on Pinterest a lot so I find lots of ideas that I really like but I can't always recreate them myself I find easier ways to make the ideas that I like. I had seen this college subway art on Pinterest but it was on canvas.  I did not want to go through a lot of effort to putting it on canvas.  Next best idea place them into picture frames.  Here is the directions to recreating this project.

1.  Find the logo that you want.  Obviously since these are college teams I used the college team logos.
2.  Find the text you want.  I pick out text that described these teams.  I found a lot of these ideas on Pinterest a simple search of your favorite football team would probably yield ideas of what you could use.  I typed these into a Word document and adjusted the font size and fonts to create a unique look.
3.  On a separate page place the team logo.
4.  I went to Hobby Lobby and bought a clear overlay scrapbook paper.
5.  Print out the art, the logo should be on regular printing paper but the text needs to go on the clear overlay paper.  That way the logo can be seen under the text.
6.  Place into a frame of your choice and you have your very own piece of artwork.

Here are the pins where I found the inspiration for the wording:


Here are links to some of the subway artwork I have created.  Feel free to download by going to my Etsy Shop please give credit to me.

Husker Artwork: https://www.etsy.com/listing/199341657/husker-subway-word-art
Iowa State Artwork: https://www.etsy.com/listing/199336499/iowa-state-subway-wall-art?
Ohio State Artwork: https://www.etsy.com/listing/199339553/ohio-state-subway-word-art?
Hawkeye Artwork: https://www.etsy.com/listing/199331774/hawkeye-subway-word-art
Alabama Artwork: https://www.etsy.com/listing/199336350/alabama-subway-word-art


Picture in a Puzzle


I made these for my sister who was turning 2 at the time I made them.  I wanted to put pictures under them because I had an inspiration from Pinterest.  The link to the blog I found is here.  Since she was turning 2 I thought that was a little too old for the peg board puzzle and I wanted this to be something she could use for years to come.  I took old photos leftover from my scrapbooking project.  What I really liked about this project was that the puzzle pieces were wooden which made it easy to trace the pattern onto the pictures.  

Here are the directions for creating this project.

1.  Remove all pieces from the puzzle.
2.  Take the photo you want to use and place one puzzle piece over the picture you want to use.  
3.  Trace around the piece (I used a permanent marker).  
4.  Cut out the picture in the shape of the piece.  I recommend keeping the picture with the piece you traced so it does not get mixed up.
5.  Cover the back of the puzzle board with Mod Podge (I used Matte Finish).
6.  Place pictures onto the puzzle board in the correct order.
7.  When all pieces are in place and dry cover the top side of the puzzle with more Mod Podge.
8.  Allow to cure for a day or  two before giving the gift.
9.  Place puzzle pieces over the pictures wrap and give as a gift!


Canvas Art


After reading the Harry Potter series again I was feeling a little bit down about it all ending.  I wanted to create a piece of artwork that would commemorate my favorite quote from all the books.  This tutorial is very similar to the crayon art canvas without the crayons.

Below are directions to recreate this project: 
1. Paint the background any color of your choosing with acrylic paint and let dry.  I used a variety of colors in a diagonal pattern because I was curious to see what it would look like.
3.  Once the paint has dried place letter stickers over the background where you want your text to be.
4.  Paint over the stickers and the background with black acrylic paint (or whatever color you choose).  I chose black because it covered up the paint and I thought the colors would show up better.
5.  After the black has dried remove letter stickers.  I
6.  Spray the canvas with a waterproof sealer.
7.  Hang on the wall and enjoy!

Here is another example that I tried with an apple background instead of the rainbow background.

This was made for my cooperating teacher,  I used an actual apple as a stamp for the background.  Then I took stencils and stenciled each letter of the quote onto the canvas using a permanent marker.

Canvas Crayon Art

This post is an about different canvas art that I have tried.

This was a different approach to crayon art that I decided to try. 

Below are directions to recreate this project: 
1. Glue on the crayons (I used cheap dollar store crayons they work just as well as Crayola) to the top part of the canvas.
2.  Under the crayons paint the background any color of your choosing with acrylic paint and let dry.  I used purple because it's my favorite :)
3.  Once the paint has dried place letter stickers over the background where you want your text to be.
4.  Paint over the stickers and the background with black acrylic paint (or whatever color you choose).  I chose black because it covered up the paint and I thought the crayon would show up better.
5.  After black paint has dried start melting the crayon with the blow dryer.  I just followed a tutorial I found online, it recommended using the blow dryer on low heat I did it on high which caused the splatter effect instead of the nice drip you see on most of them.
6.  After the crayon has hardened remove letter stickers.  I had problems with this when I pulled the sticker up it wanted to pull the entire line of crayon as well so I used an exacto knife to help me without pulling off all of the crayon.  
7.  Spray the canvas with a waterproof sealer.
8.  Hang on the wall and enjoy!

Woodworking Crafts

This blog was originally created as an assignment for a college class.  I have decided to create this blog to post crafts that I have created, nail designs, and ideas for the classroom.  My first post is going to be about woodworking crafts my fiance and I have completed together, he creates the item and I paint it.  Together we make a pretty great team.  Since I do not have templates or tutorials for these I have decided to post them all at once.

This was created for some family friends to hang on their door.

Snowman we created for a family member.  I used a toothpick to do the finer details such as the lines on the mittens and the snowflakes.

Bunny rabbit created for Nick's grandma.

This was created based on an inspiration from a woodworking magazine.  The background is suppose to be sunset in the mountains.

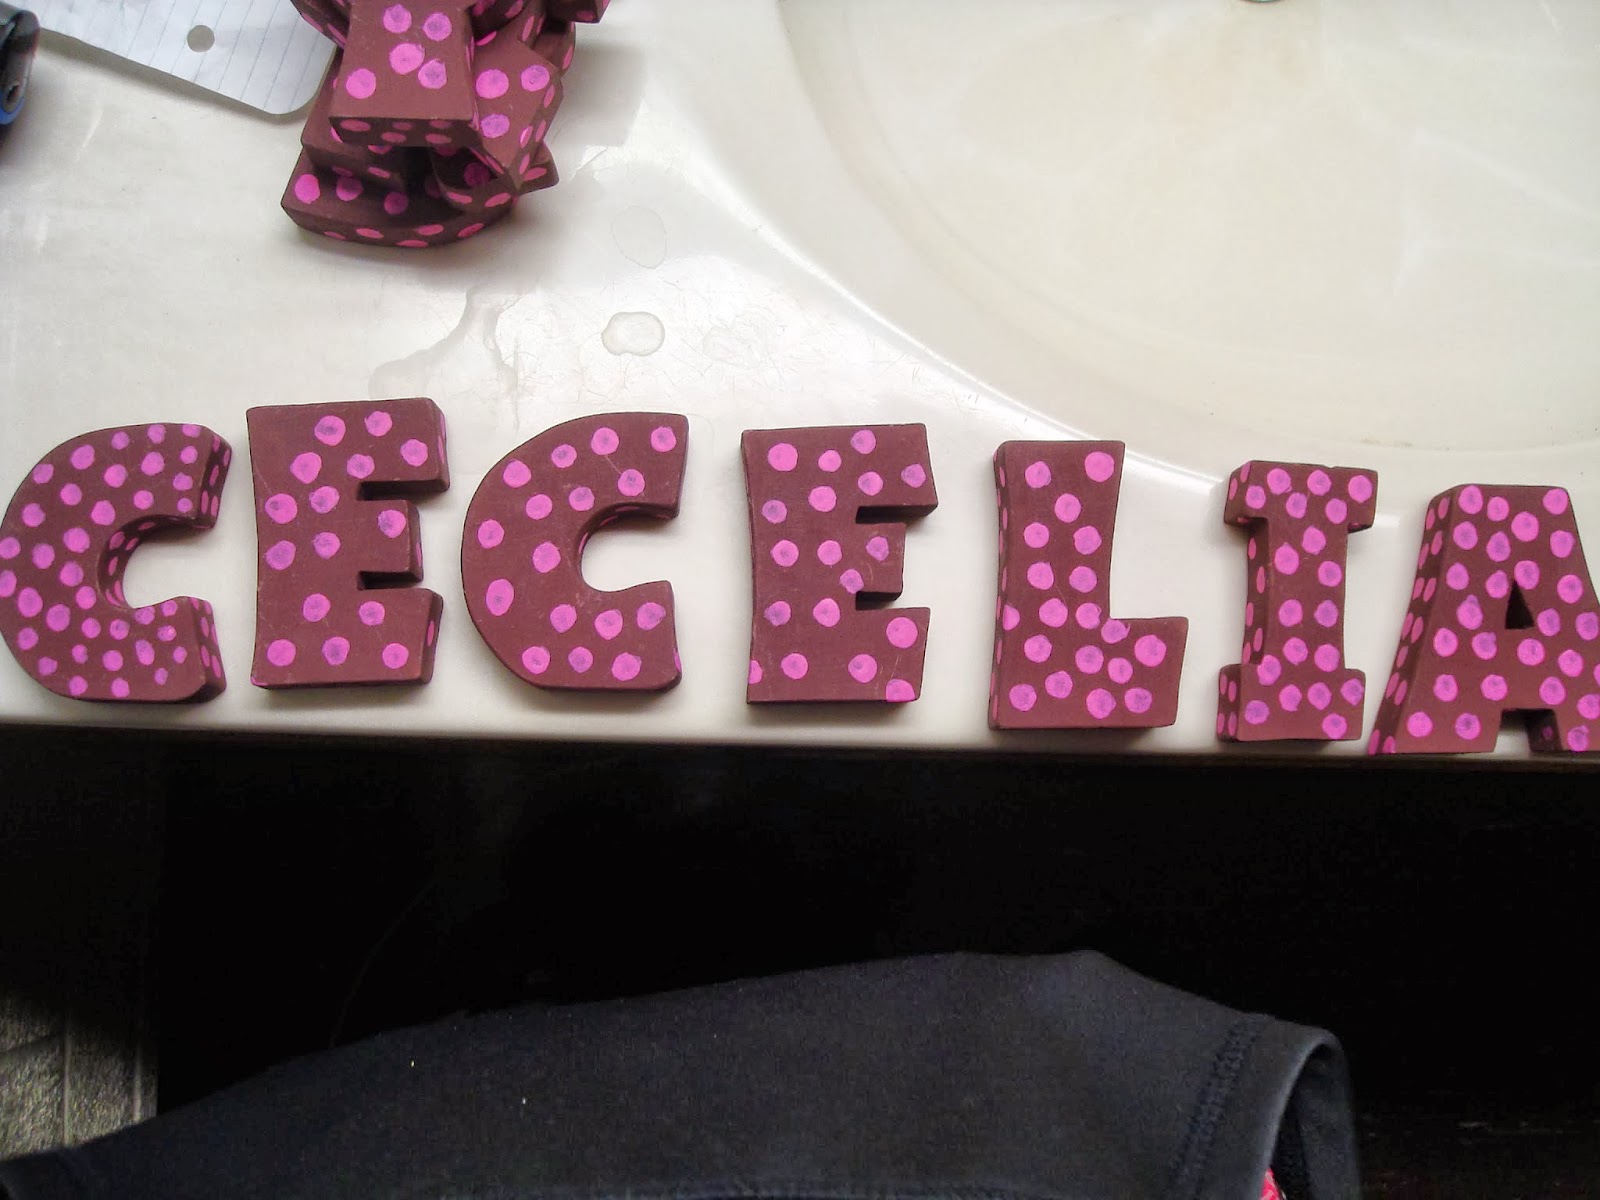
These were created for a friend for her daughter, a q-tip was used to create the pink polka dots.


One of the first projects we did, a googly eye was glued onto one side.